
DIY Hair Lamination, yeah you heard me. Confused yet? I definitely was when a pin popped up on my Pinterest page titled “Hair Lamination at home”. What they heck is hair lamination? I’ll be 100% honest, I didn’t know for sure until yesterday. I’m no hair professional, but a little google searching let me in on the secret. Apparently, hair lamination is a protein treatment for extremely damaged, heat treated, relaxed, or split hair. I mean, how could I pass up this miracle treatment touted to save any level of suffering hair? This post may contain affiliate links
Pretty much anyone who knows me, knows I use hair extensions. I’m really outspoken about the benefits of extensions. I have naturally thin and weak hair ( read hypothyroid induced balding ), so extensions have been such a saving grace for me! As much as I love hair extensions, this last pack I ordered have been a bit of a dud.
The current pack of hair I have are top of the line luxury extensions, that said, I somehow ended up with a damaged pack. ( not going to mention the brand name here because I don’t want to tear anyone down, but if you have questions about purchasing extensions feel free to reach out to me privately. ) For the first 3 months, my hair was luscious, healthy, shiny, and just about perfect. I take super good care of my extensions only washing twice a week, using hair masks every wash, heat protectant, leave-in conditioner, detangler, and a hair oil. All of that, and still one day, pretty much three months to the date of having them installed, they started tangling TERRIBLY. So bad that I couldn’t even wear my hair down anymore because it would instantly matt up as soon as I walked outside and the wind blew.
I have tried EVERYTHING to save this pair of extensions. So, why not give hair lamination a try? (Y’all asked for a vlog about my experience, and don’t you worry, it’s coming!)
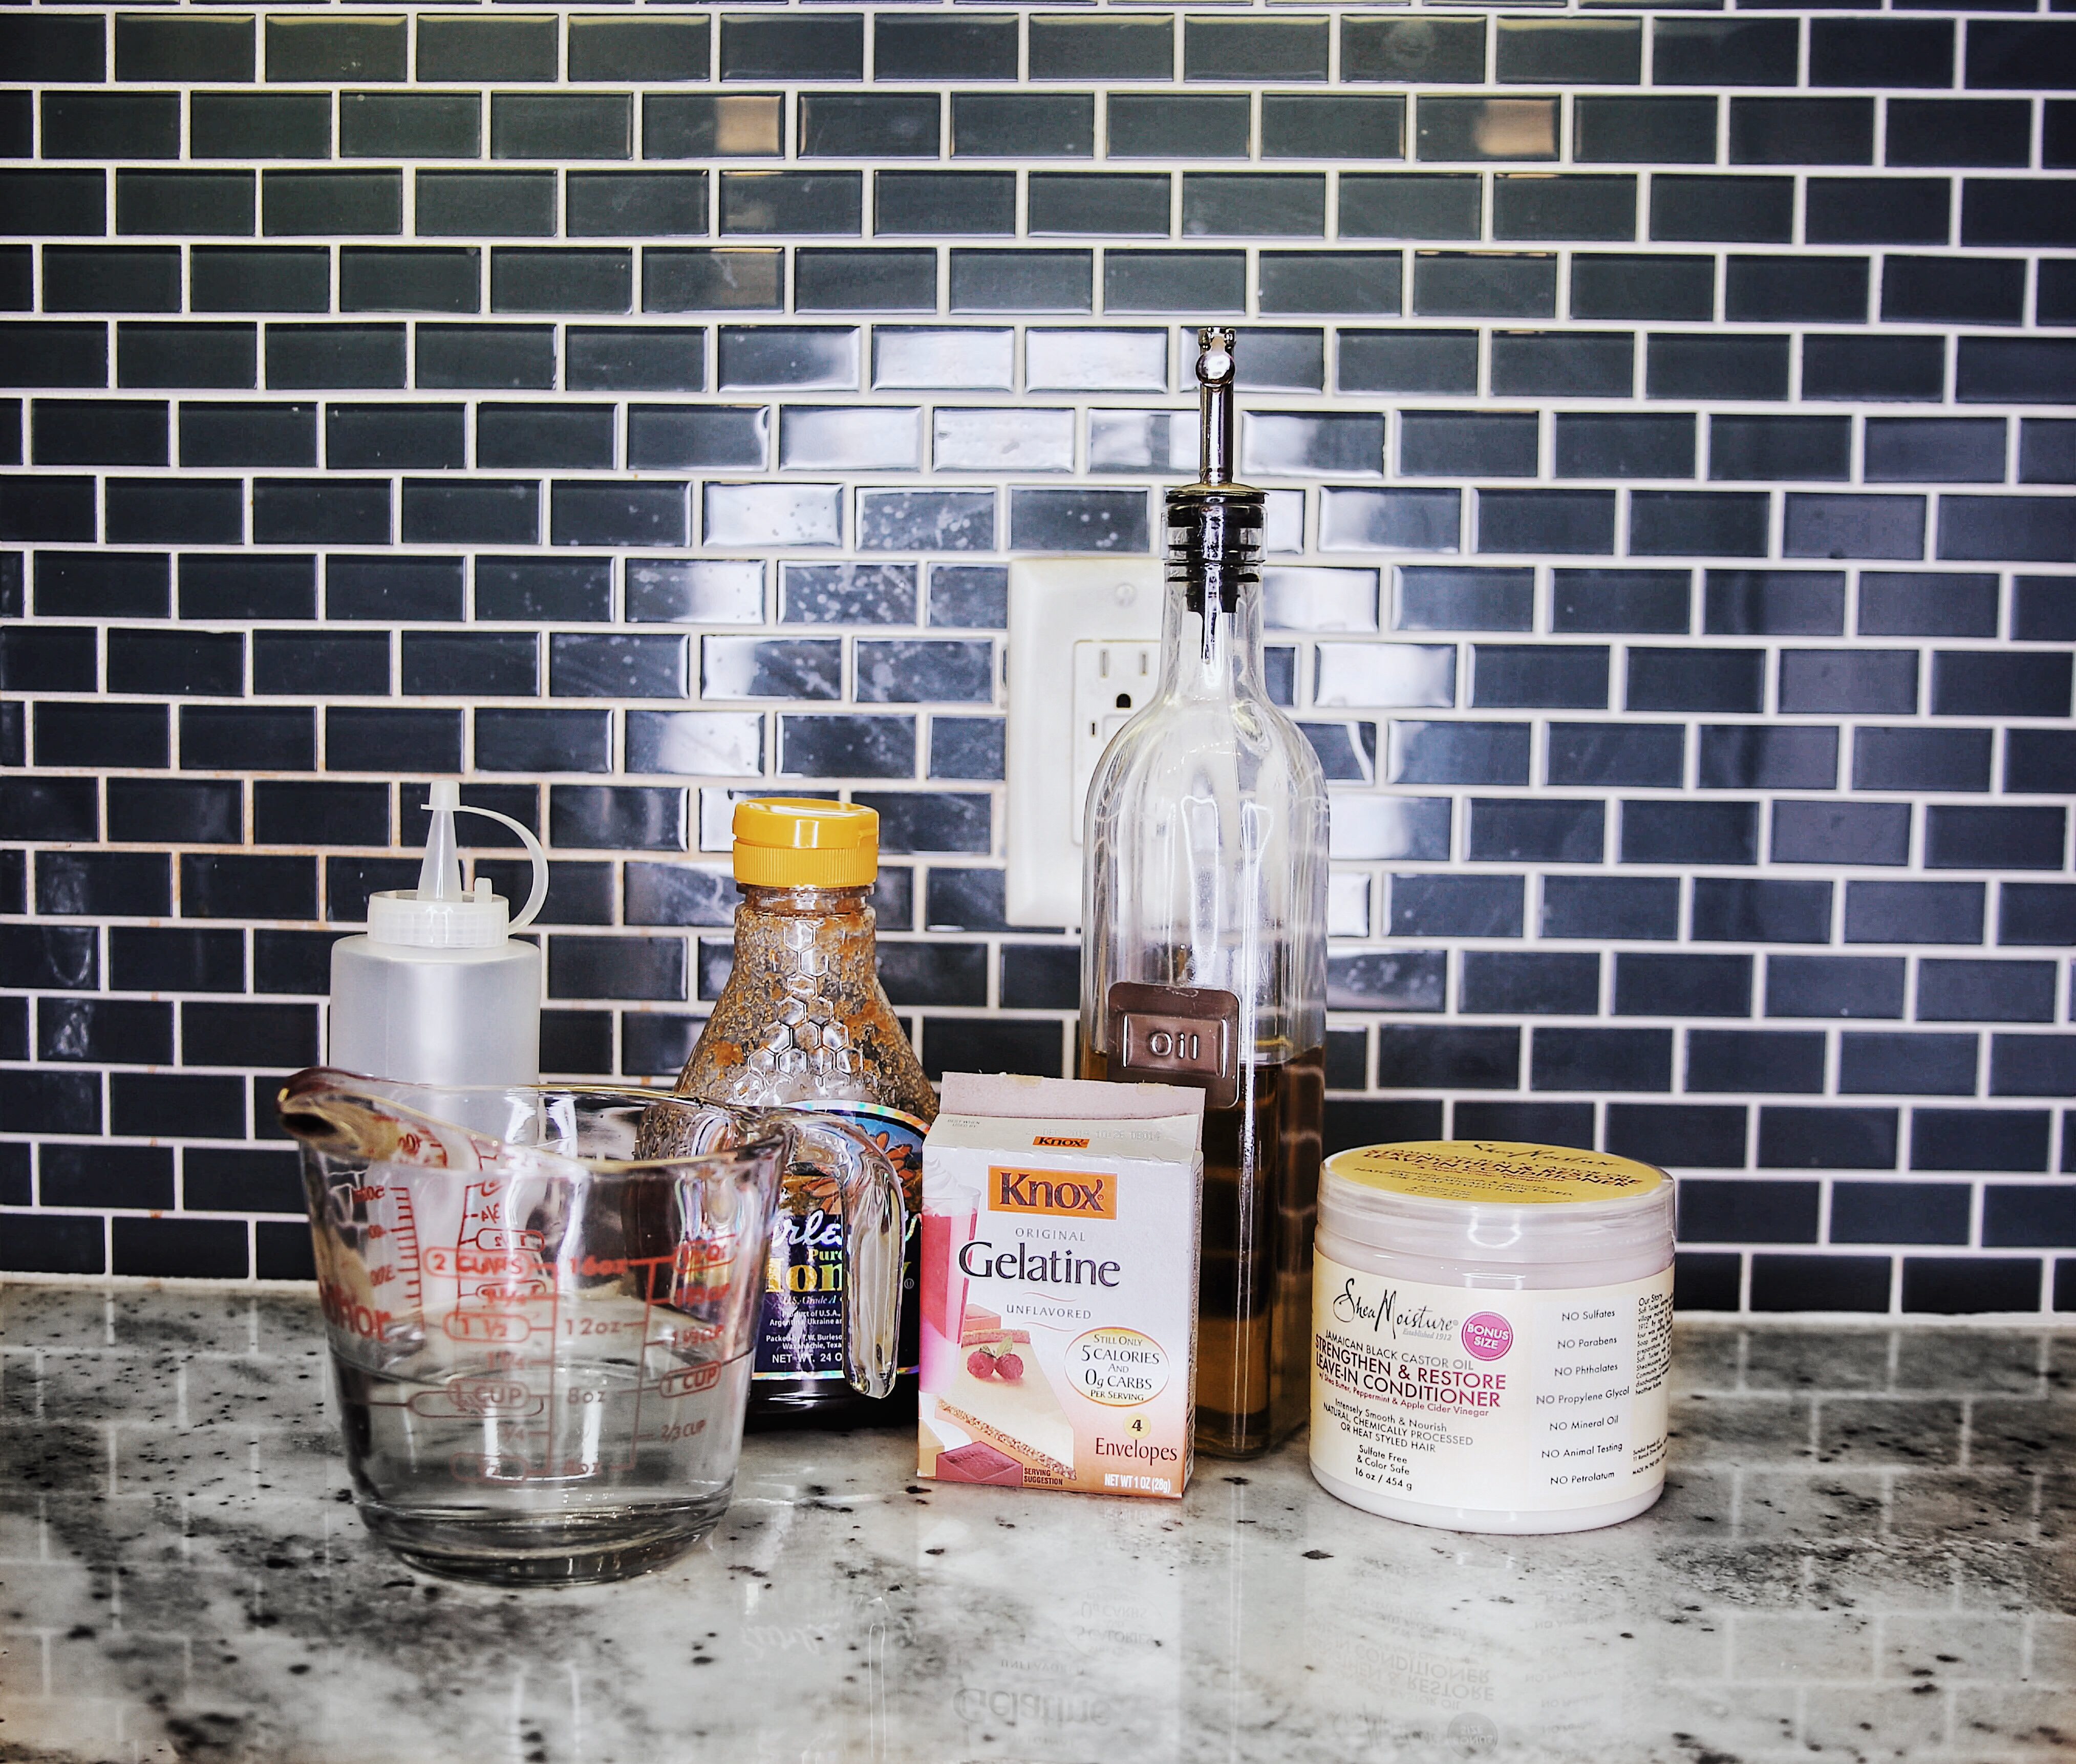 What do you need for hair lamination?
- Seriously damaged hair or hair extensions.
- One packet of Knox Gelatin
- One tablespoon of olive oil
- One tablespoon of honey
- One cup of hot water
- Disposable gloves
- One empty squeeze bottle
- One wide toothed comb
- And a deep conditioning treatment for after
There are a lot of different recipes out there, most of them call for apple cider vinegar. I didn’t have any vinegar and I wasn’t sure I wanted to use something so abrasive on already damaged hair. So, I chose a recipe that used olive oil instead.
First, you need to heat your cup of water in the microwave to a boil (About 1 minute)
After this, pour in your gelatin packet while stirring constantly (You definitely don’t want any yucky clumps in your hair!). Once the gelatin is fully dissolved, add your olive oil and honey (while stirring). Once fully combined, pour your mixture into your empty squeeze bottle, and allow to cool for 20 minutes.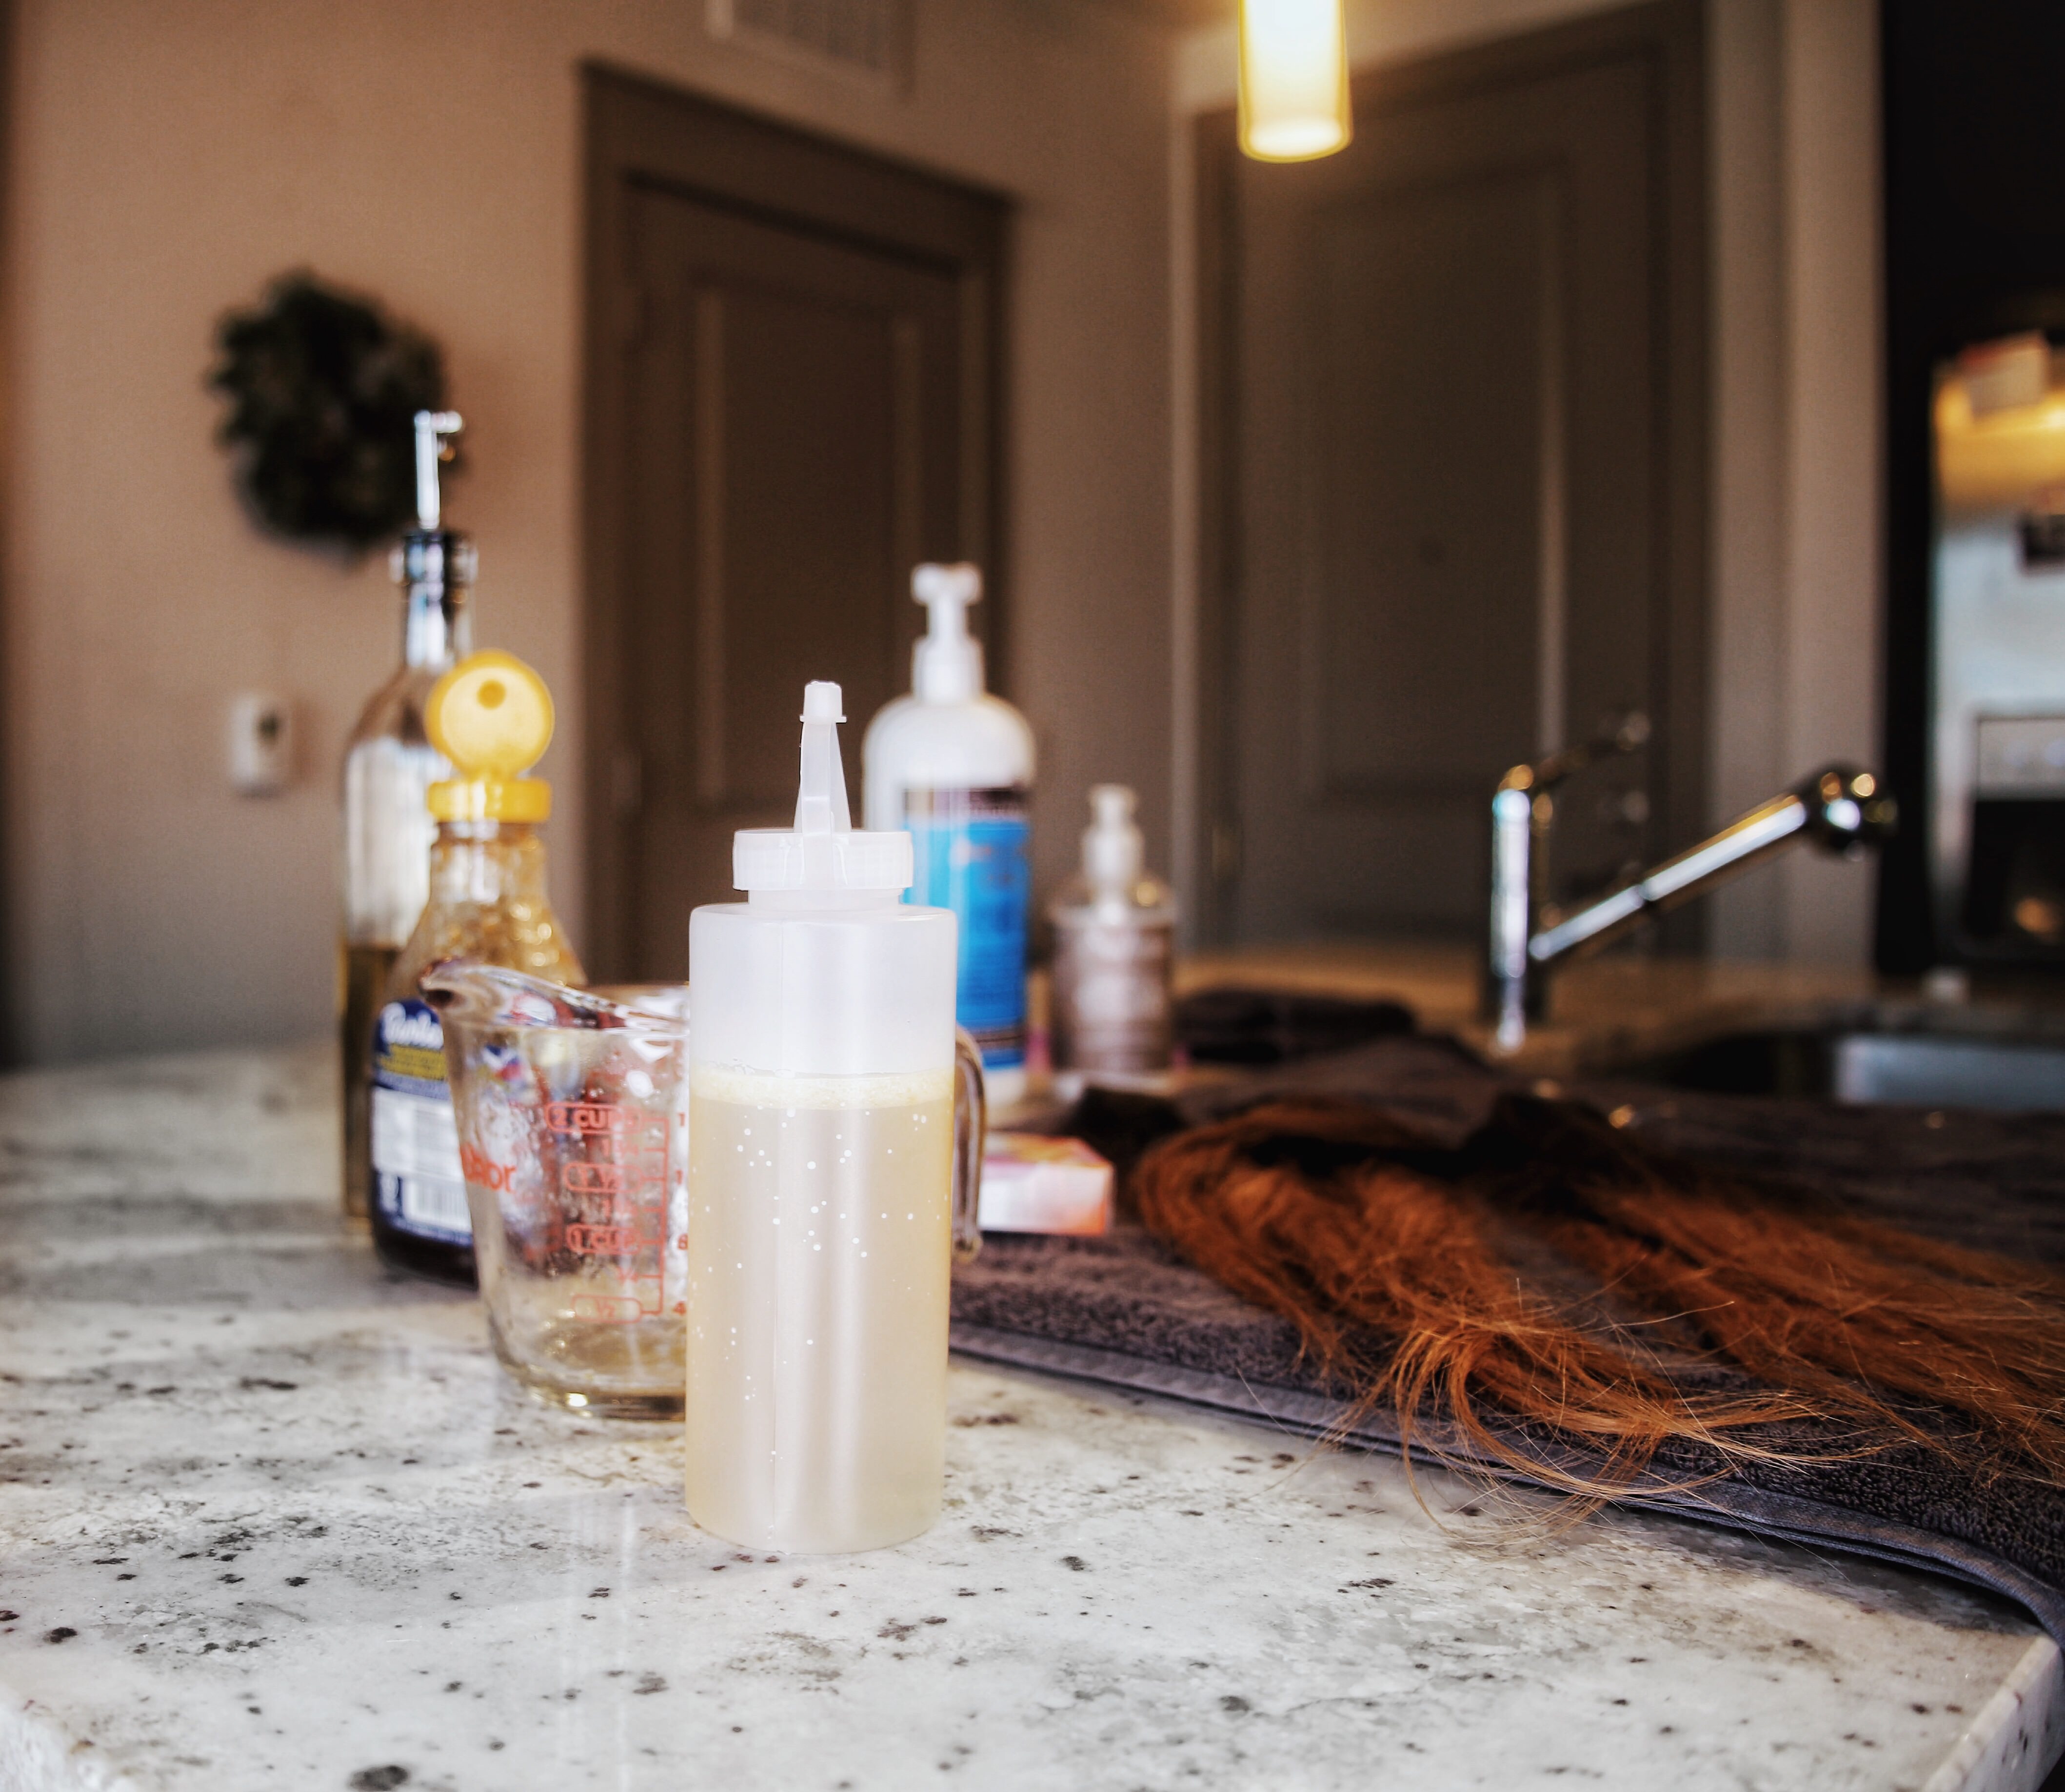
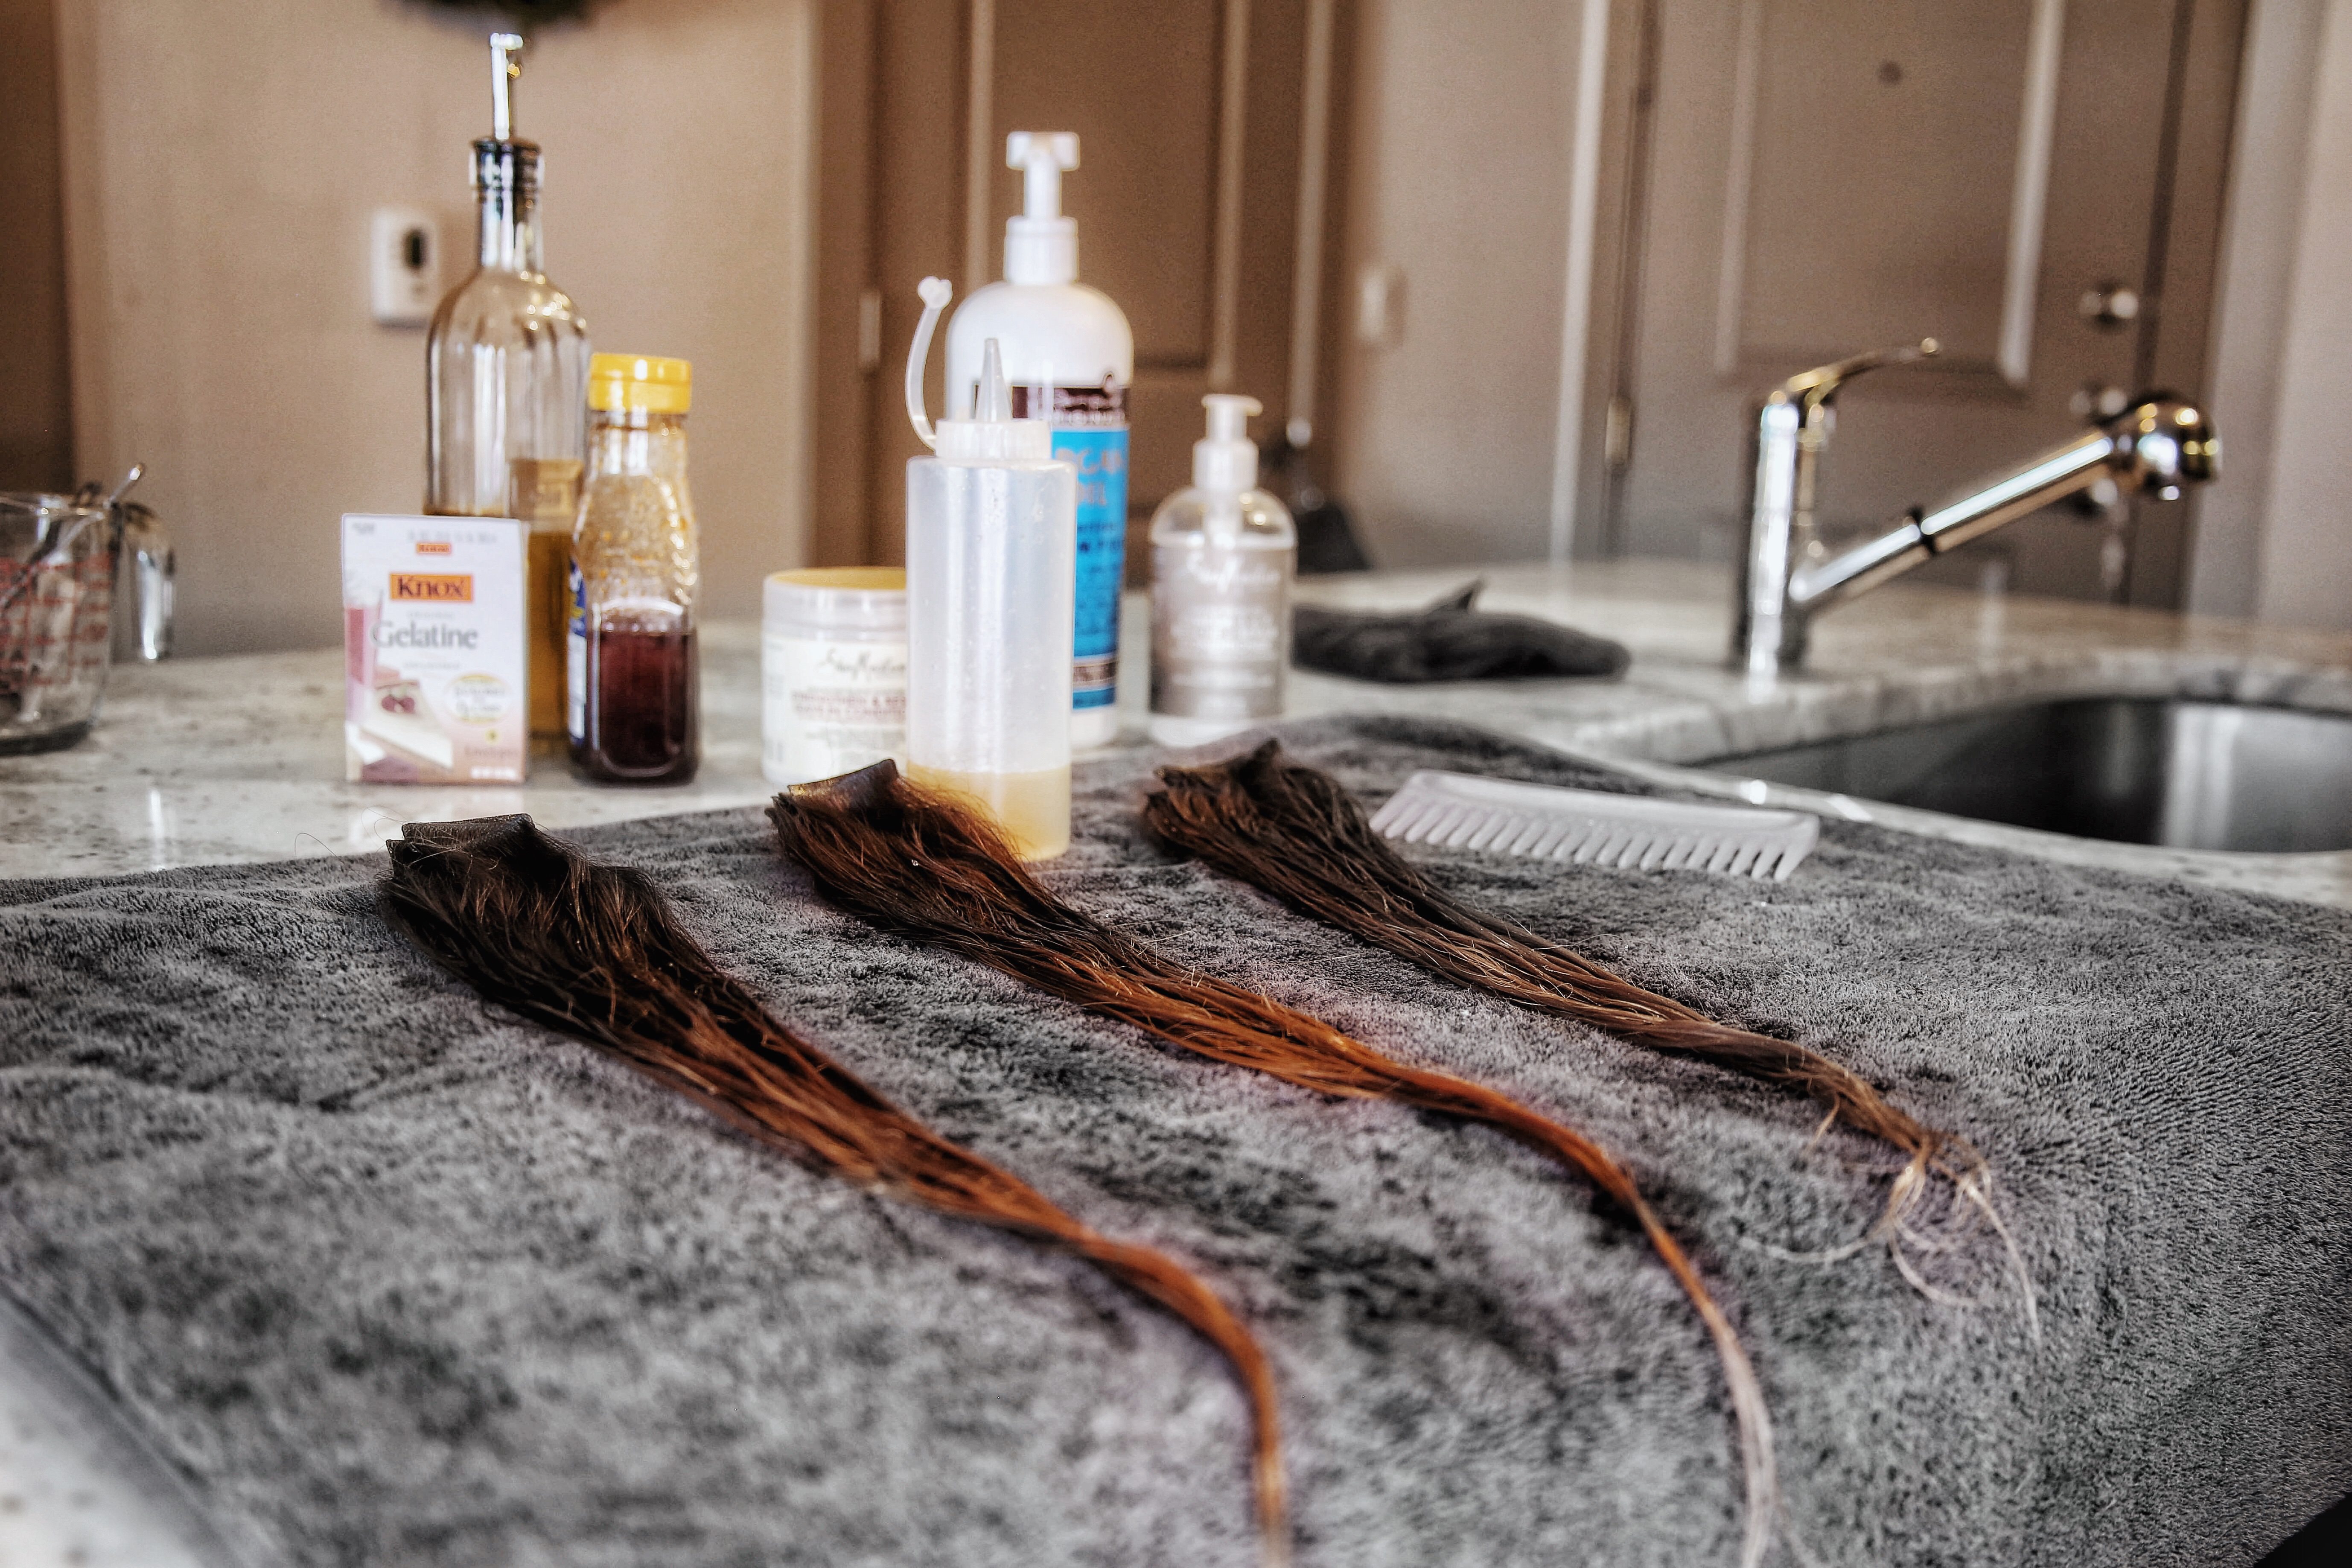
Now that your mixture is cooled, you’re ready to apply it to your hair. Whether applying to extensions or natural hair, you want to apply at least one inch away from the roots (or the tabs of your extensions). I squeezed generous amounts all over the hair first, then rubbed it into the hair with my gloves on. After I used up almost my entire bottle of goo, coating my hair liberally, I got out a wide-toothed comb and combed it all through gently. Your hair will harden, beginning to feel heavy and stiff as it dries. Don’t panic, this is supposed to happen.
 Leave the treatment on your hair for 15 minutes, wrapped in a hot towel or shower cap. After your fifteen minutes has ended, set your shower temperature to WARM (not hot!), and allow the crusty texture to release on its own before touching or brushing! Once your hair feels more like itself again, feel free to wash with your favorite shampoo and comb through with a gentle wide-toothed comb. Once washed and dried, I opted to apply a heavy-duty leave in conditioner as opposed to a hair mask, just because I felt it would be most beneficial to my hair. Dry and style as usual and you are all done! You can apply this treatment once every two months.
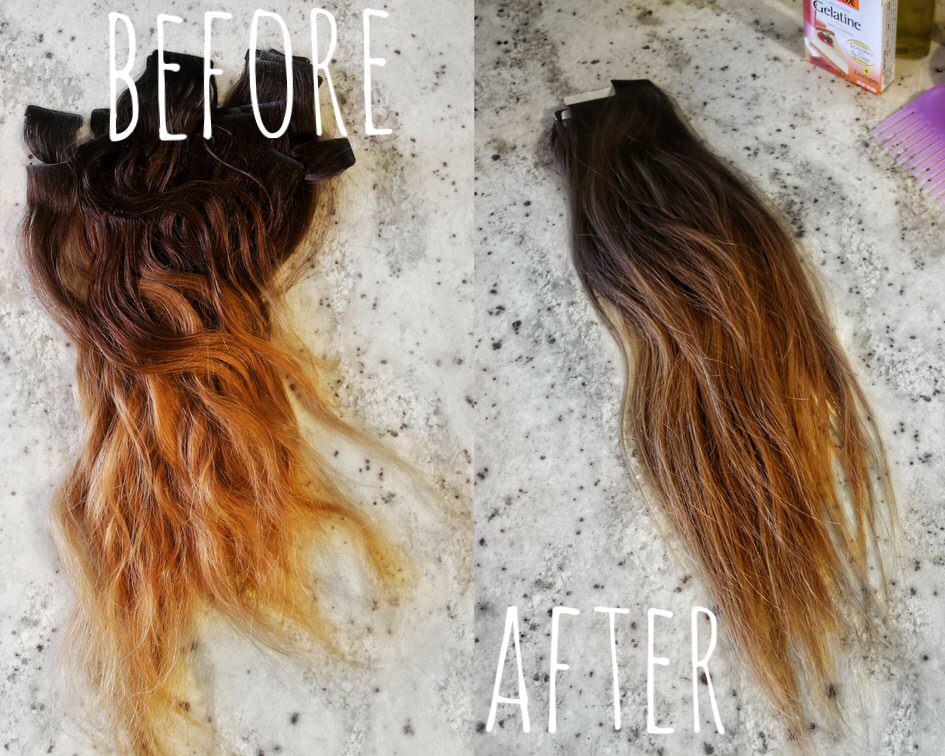
My hair definitely looked way shinier and my split ends were much less noticeable. That said, it didn’t impact my tangling issue as much as I had anticipated, but my hair was healthier looking for sure! For how inexpensive and easy this treatment is, I would rate it a 7 out of 10. It may not be the miracle treatment that heals all hair ills, but it definitely does improve the appearance of damaged, dry hair! See for yourself, I think my hair looks pretty smooth, hahah.


Thanks for sharing this!! Can’t wait for the vlog!!
The vlog is going to be so haphazard because I’m awkward on camera and tried to film without my face in it since I took my hair out. Hahaha
Wow! I definitely learned something new today. I didn’t know “Hair Lamination” was a thing. Yours turned out great! 🙂 Maybe I’ll try this some day.
Me neither! I had never heard of it before it popped up on pinterest! I thought it was a joke at first, but once I read a bit more about it, it kind of made sense. It’s super cheap and definitely worth trying.
This is so crazy! I’ve never heard of hair lamination. Looks like it worked great for you, I’ll have to look into it more.
It really was a weird experience. It felt kind of creepy, I won’t lie. The first day, I didn’t really feel like it did all that much, but the second day my lack of tangles was very noticeable! Definitely worth giving it a try!