We all own one, or in my case multiple, pieces of furniture that are damaged, old, or just plain out of style. Lately, I’ve been in this weird rutt of desperately wanting to sell all of my furniture and start over with brand new. Since is unlikely I’ll make enough money at a garage sale selling all my old damaged pieces to fully furnish my apartment once over, I figured it was time to get out my creative hat, a sander, and a whole lot of elbow grease. Why you ask? To upcycle my old pieces into something that I would genuinely want to buy– if I had the money and was able to completely refurnish my place–.
I have a lot of grandiose projects in mind, which hopefully will turn out whenever I do them, but instead of starting with the hardest project first, I decided to start small with a side table I purchased when I first moved away from home. This piece was purchased from West Elm about 4 or more years ago as their display sample. It came with a few small nicks and dings here and there, but what 18 year old with their first apartment minds if their super trendy new side table is a little…loved? Well, I didn’t. That said, over the years it got even more “well-loved” (ahem, translation seriously damaged) and it began to drive me crazy. This is where the sander, elbow grease, a little blue tape, and some spray paint come in.
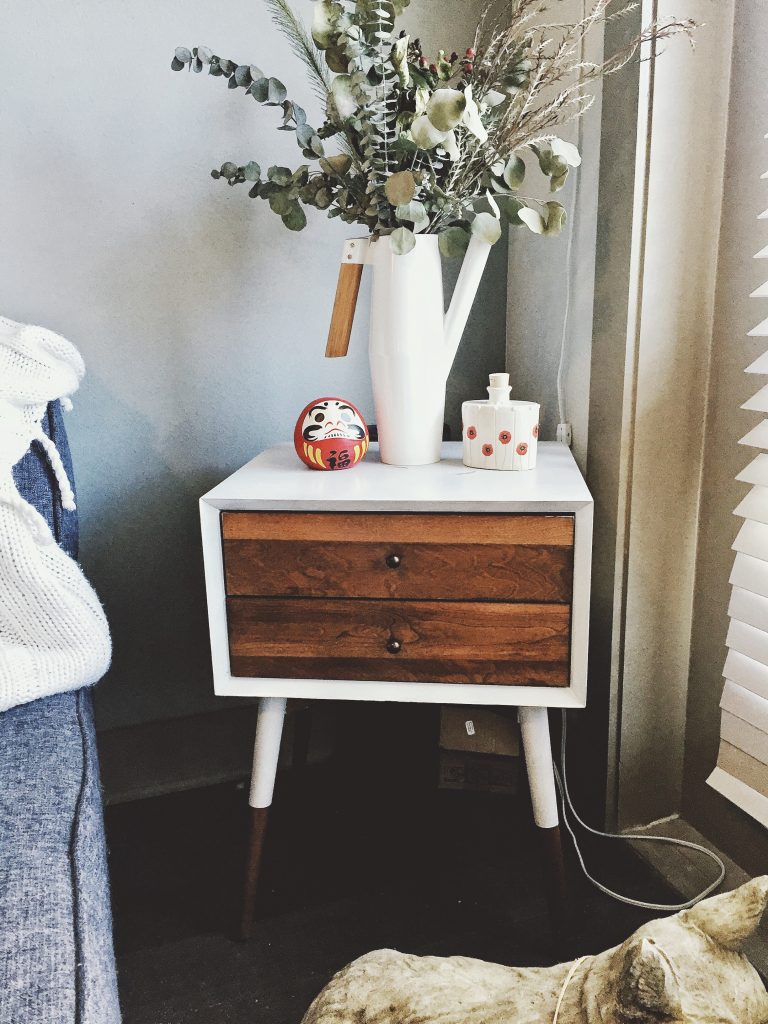
So if you haven’t guessed already, I’m going to give you guys a blow by blow of how I upcycled my damaged, condensation stained, bunged up old side table into a modern and almost-brand-new-looking statement piece for less than the price of a dinner for two.
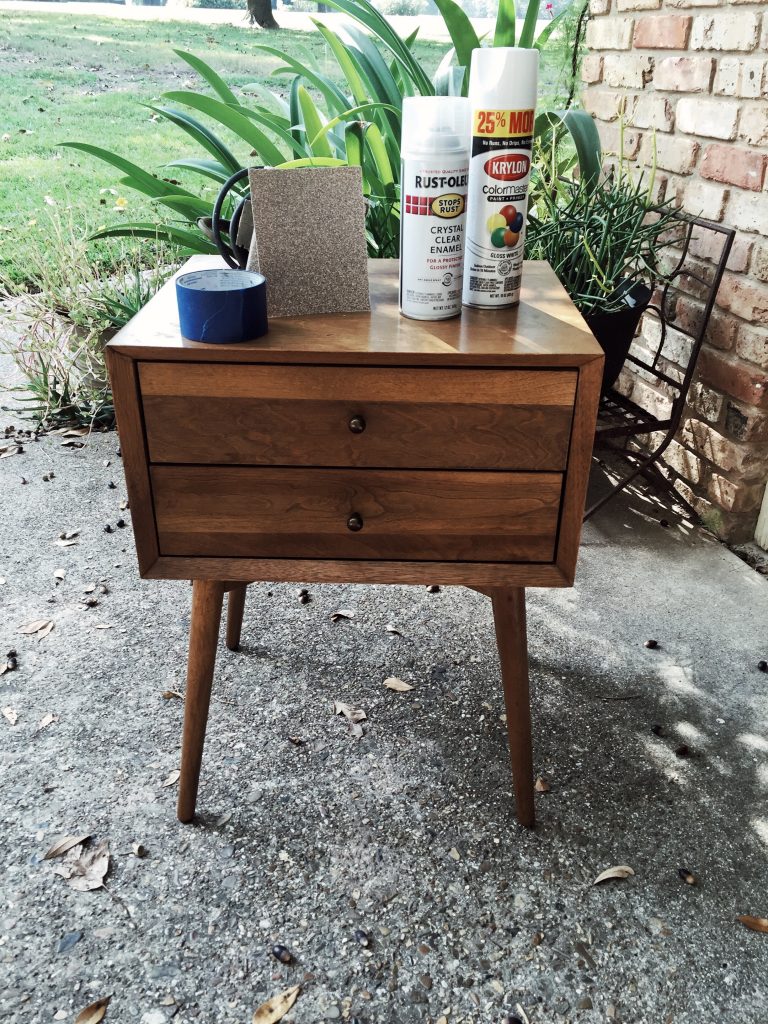
Supplies you will need:
1 Palm Sander
1-2 sheets of 4-1/2″ x 5-1/2″ 60 grit coarse general purpose sandpaper
1-2 Cans of Crylon ColorMaster paint-and-primer-in 1 Gloss white spray paint
1 Can Rust-oleum Crystal Clear Enamel spray
1 Roll of Blue Painters tape
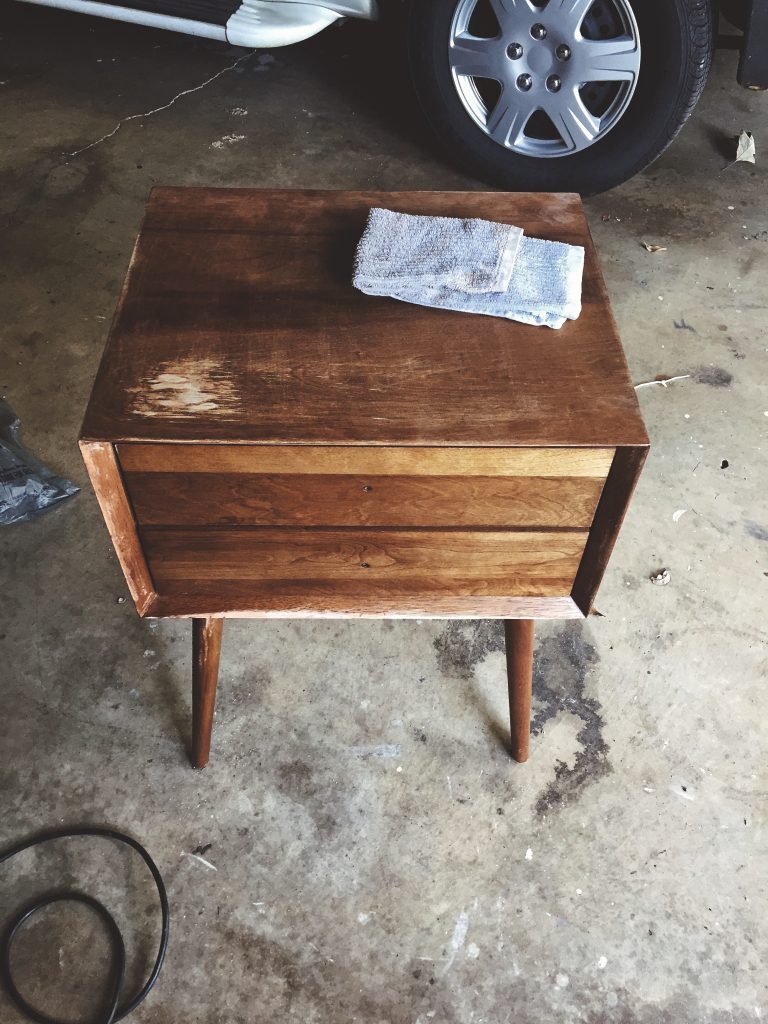
1 Damaged Side Table
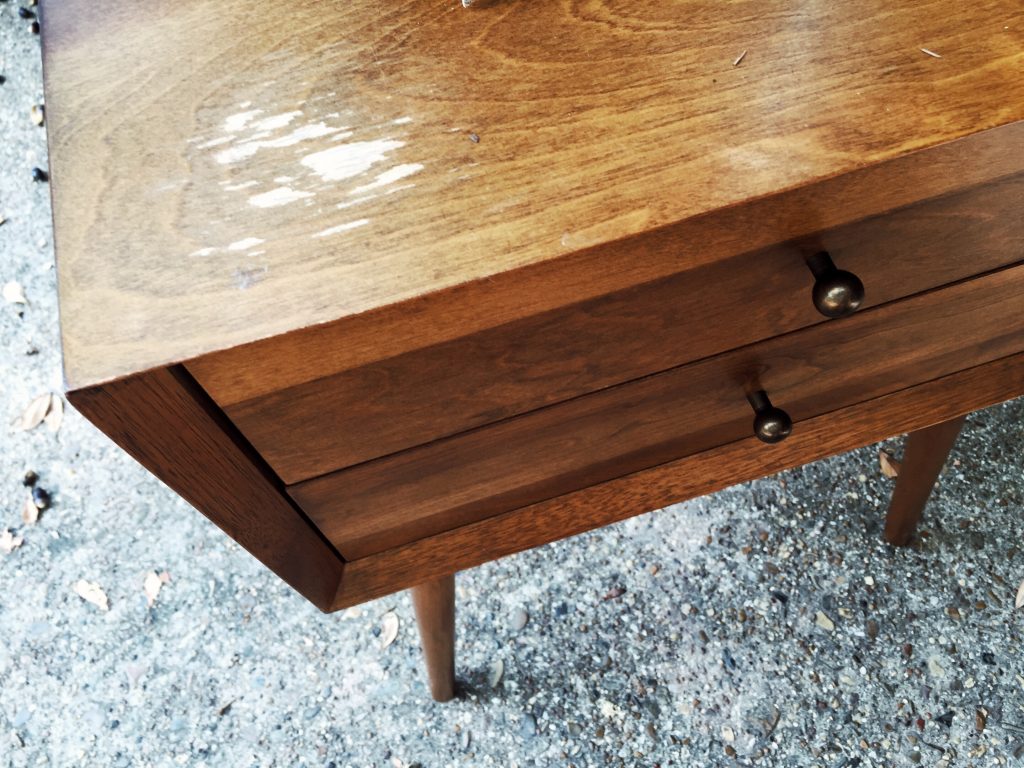
(here’s a photo of the main area of damage, yes I didn’t use a coaster.)
So let’s get started. First things first you’re going to want to thoroughly sand your table on all areas you want to paint. While this isn’t always necessary when using spray paint, it is highly recommended — especially if your piece has noticeable knicks and damage. Sanding not only ensures that your spray paint cover adheres perfectly, but it also helps you make sure your finished product has a smooth surface.
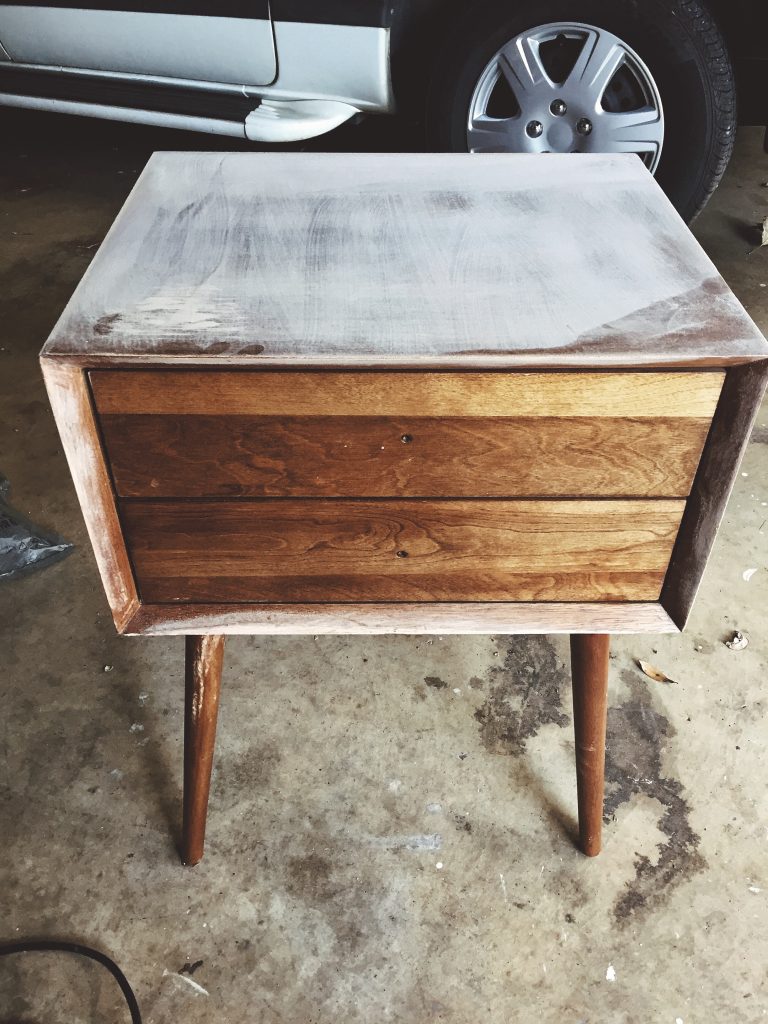
Once your item is sanded, take a damp cloth and clean all of the sawdust (for lack of a better term) from the sanded surfaces and every nook and cranny it could have found its way into. I gave mine a good wipe down once, allowed the surface to dry, and then went over it once more just to make sure we didn’t have any loose particles that would mess up the smoothness of my spray coat.
Once completed, it’s time to tape. I was unhappy to find halfway through my process that the drawers on the side table were not removable, thus I unattached the knobs and made sure to thoroughly tape over all spaces, edges, and corners of the drawers so they didn’t have any chance of getting spray drips.
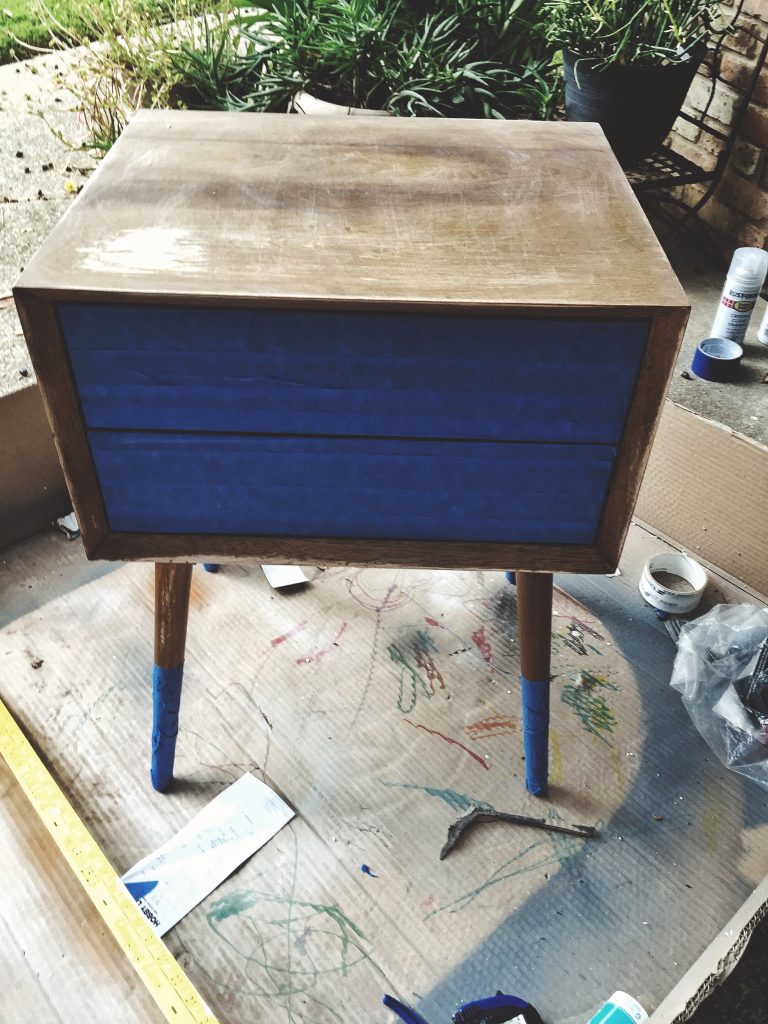
As you can see, I decided I wanted to leave about 7 inches of the raw wood section exposed on the leg for the finished product, so I tapped it off at said legnth.
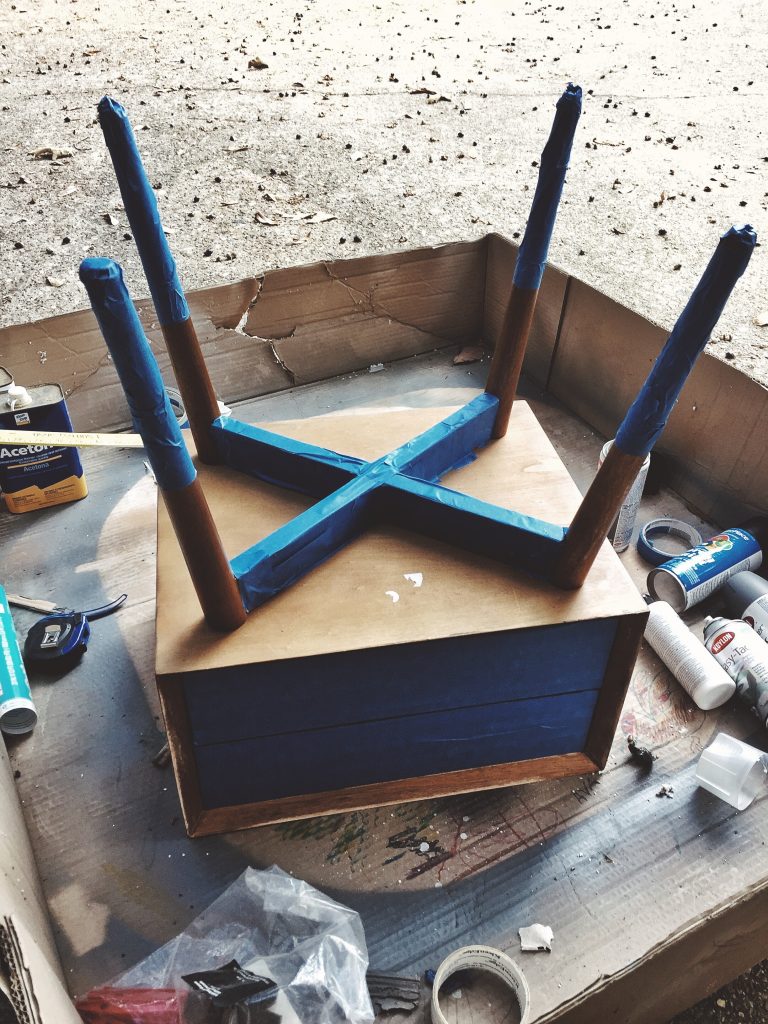
During the process of taping off my legs, I found that my table had this gorgeous (sarcasm) crossbar section on the legs that was an abslute nightmare to try to tape off. But, no pain no gain, aye?
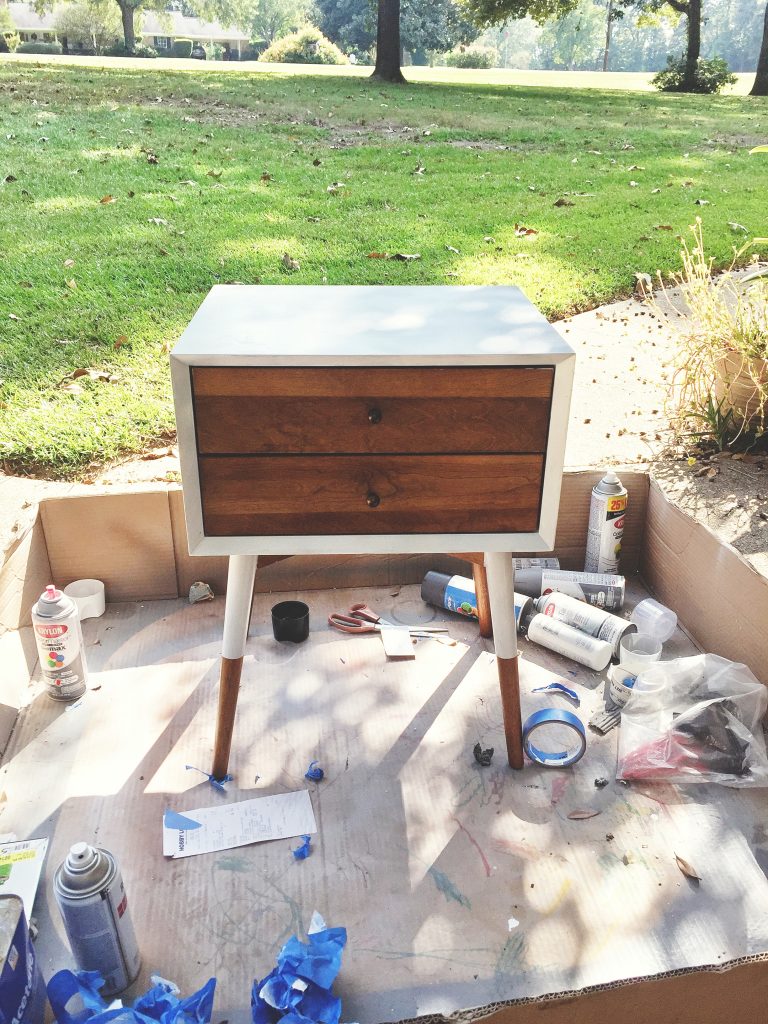
The next step is my favorite. Time to paint! Before I painted, I went ahead and wiped down my surface just for security sake. A technique I have learned from my husband to ensure a clean and even pain coat, is to be sure to keep your spray can in constant motion (either in long left to right swipes or up and down motions depending on the surface you are painting). I layered on about three coats of white paint before I was fully happy with the over all look of the table (10 minute drying sessions between each coat)
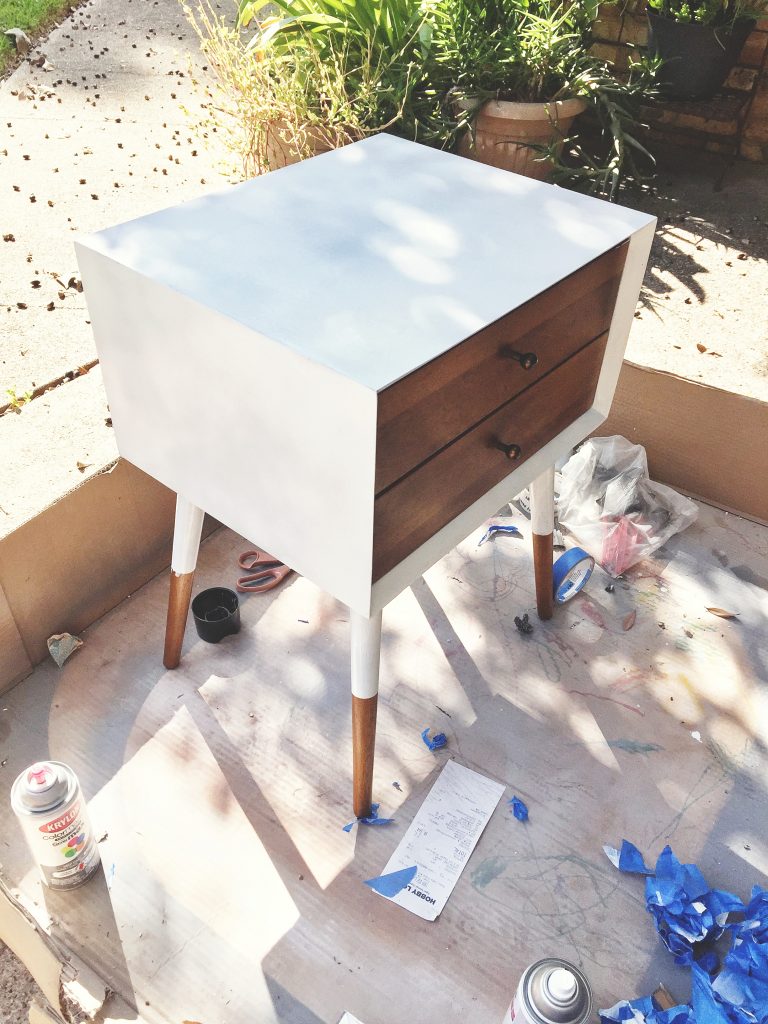
Once I was completely satisfied with the overall appearance of my white coat, I got down to the fun task of removing all the tape. This is probably the most satisfying part of any upcycle — in my opinion–. Once all the tape was fully removed and I was positive my white coat was dry, I proceeded to coat the entire side table with 3 coats of clear enamel to ensure a protective/shiny coat covered cleanly.
And, thats about it folks! This whole project took me maybe around 3 hrs to complete if not less. It was an easy and fun way to make an old piece of furniture I was bored of, into something new and exciting! Thanks for joning me for my little upcycle adventure. I hope it inspires you to repurpose and recycle an old piece of furniture that you thought had no life left, into a new and exciting accent for your home! Happy DIYing!