Okay, alright, I know I’m totally beating a dead horse here with this topic. There are 1001 posts out there about how to achieve beachy waves, so why should you read mine? Y’all have no idea how many of these pinterest posts, youtube tutorials, Insta stories, etc I’ve watched on beach waves. But you know what? Not a single one ever worked for me. Why? Four reasons. One, I’m hypothyroid, so I’m partially balding and my hair is as thin as chicken broth. Two, my hair is cut in abnormal layers. Three, the reason my hair is in abnormal layers, is because I have tape-in extensions to cover up my hair loss and thinness.
I found copious tutorials out there for thin hair, and for extensions, but never for both and never for layers. So, if you have thin hair or extensions with layers, this set of tutorials is just for you!! I’m going to show you three looks. One created by a curling iron, one waved with a wand, and one tousled with a “wave-maker” tool.
I’m gonna jump right in here. For all of these styles I’m starting with freshly washed, conditioned and blow dried hair — except for the one styled with the waver, but we’ll get into that later.
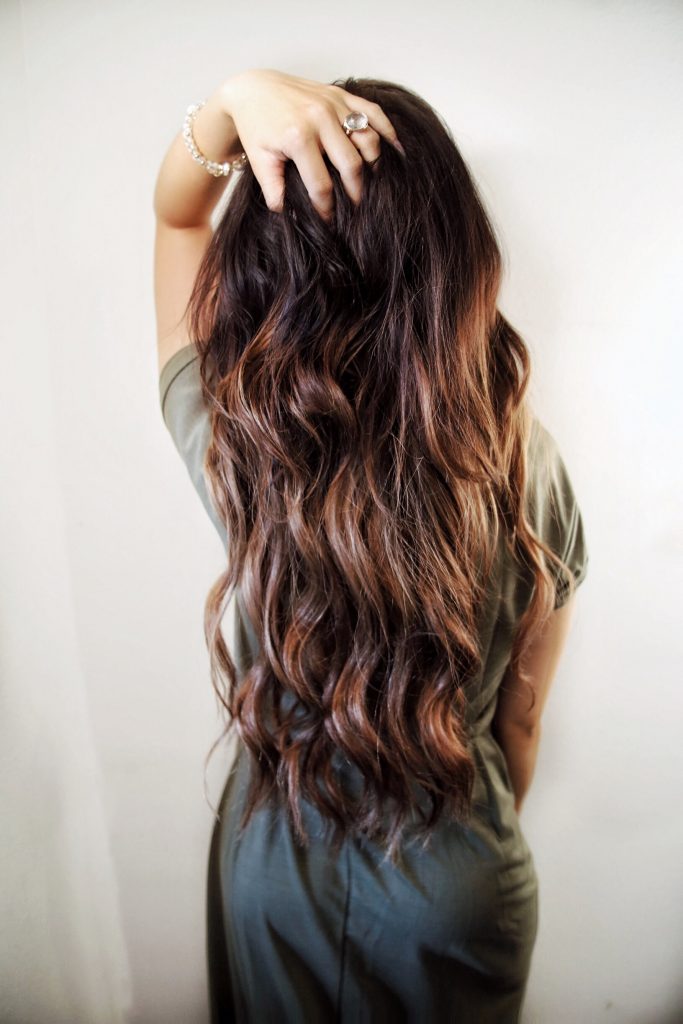
- The Curling Iron Shake Out Wave
Tools:
Heat Protectant spray (I used Chi 44 Iron Guard)
Extension Brush (I used Detangler brush by Hair Glider)
Hair Oil ( I used Matrix Silk Wonder)
One Inch Curling Iron ( I used Pro Tools)
Flat Iron (I use Andis model CSI-1EA-D)
Texturizing powder ( I use Kristin Ess Loose Styling Powder)
Begin with damp towel dried hair.
Spray in your heat protectant and slather your ends with your hair oil.
Gently brush out any tangles starting from the ends working your way up.
Blow dry your hair as normal (I like to flip my hair upside down while blow drying for maximum volume for thin hair).
Once fully dry, and I mean fully dry. If you have any dampness in your hair when you start curling, not only will you damage your hair, the steam let off from the hot tool will loosen the grip of your tape in extensions.
Now it’s time to get your wave on. Separated your hair into three horizontal sections ( where each track of back extensions begin)
Take about a medium sized section of your hair and wrap from root to end around your wand leaving 1 inch of your ends off the iron.
Hold hair on the iron for 5-8 seconds, release into your palm and squeeze then release.
Wrap each section of hair in different directions (otherwise when you finger comb it, it’s going to look very real housewives).
Once you’ve completed all your sections of extensions, what you have left is the scalp area of your real hair. At this point, I recommend getting out your flat iron. If you continue with the large barrel curling iron, your bottom sections will look mermaid and your top section will look sheep.
Taking large sections of your natural hair, hold your flat iron vertical with the handle facing up, and curl all sections toward the back.
Once done, flip your hair upside down, give yourself a nice shake out and finger comb all the way through.
Pop back up, and tip a tiny bit of your texture powder right at your roots and really scrub it in there with your nails.
Complete this look with a finishing spray and you are good to go!
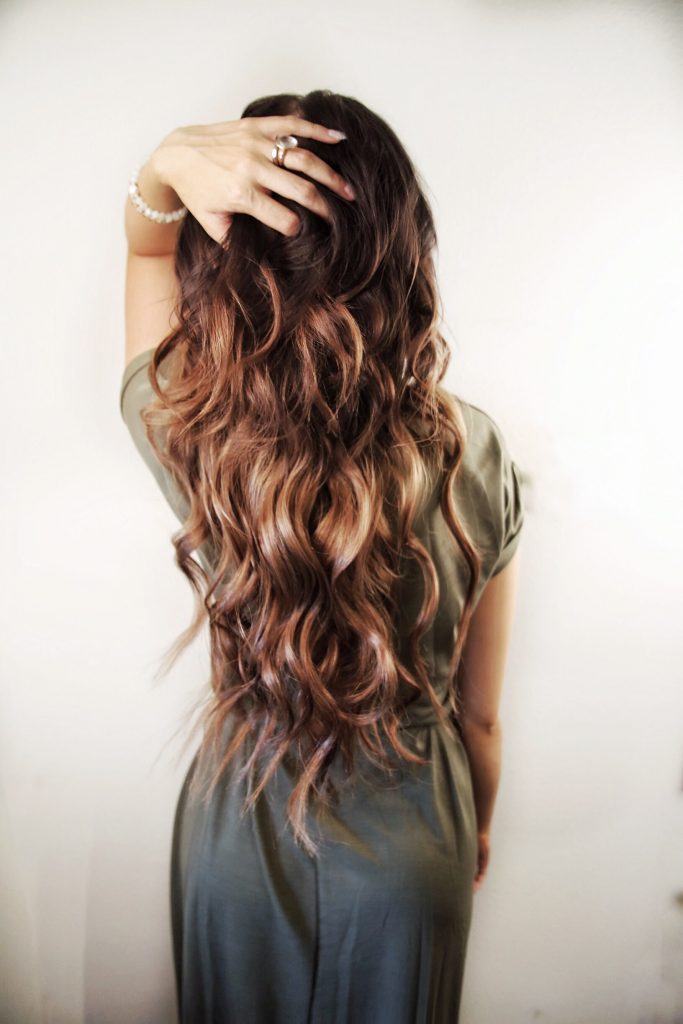
- Thin Wand Natural Girl Curls
Tools: 1 Inch Tapered Curling Wand ( I use Hot Tools model HTG1860)
Extension Brush (same as option 1)
Heat Protectant (Same as option 1)
Beach Spray ( I use Not Your Mother’s Beach Babe texturizing Sea Salt Spray )
Hair Pick ( I use some random target thingo)
Setting spray ( I use Kenra Platinum Finishing Spray #26)
This one is going to have a tighter look. Think natural curls that got a taste of some salty ocean water.
Repeat steps 1-5 from the previous instructions, but instead of the hair oil spray the beach spray from about halfway down your hair to your ends.
Section your hair into the same three groups.
Take a slightly larger section of hair this time, think 1.5in of hair.
Hold the wand with the tip facing the ground and wrap your hair starting with the root down. This time, wrap all the way to the end of your hair.
Wrap each section alternating, but make sure that the sections toward your face are curled away from you.
Once you reach the top section of your natural hair, take smaller chunks, say half inch, and wrap from root to tip.
This time, instead of finger combing and flipping, you are going to give your roots a nice scrub with your nails. Then, taking your hair pick, lightly comb out the under sections of your curls.
Set with finishing spray, and you are ready to rock and roll!
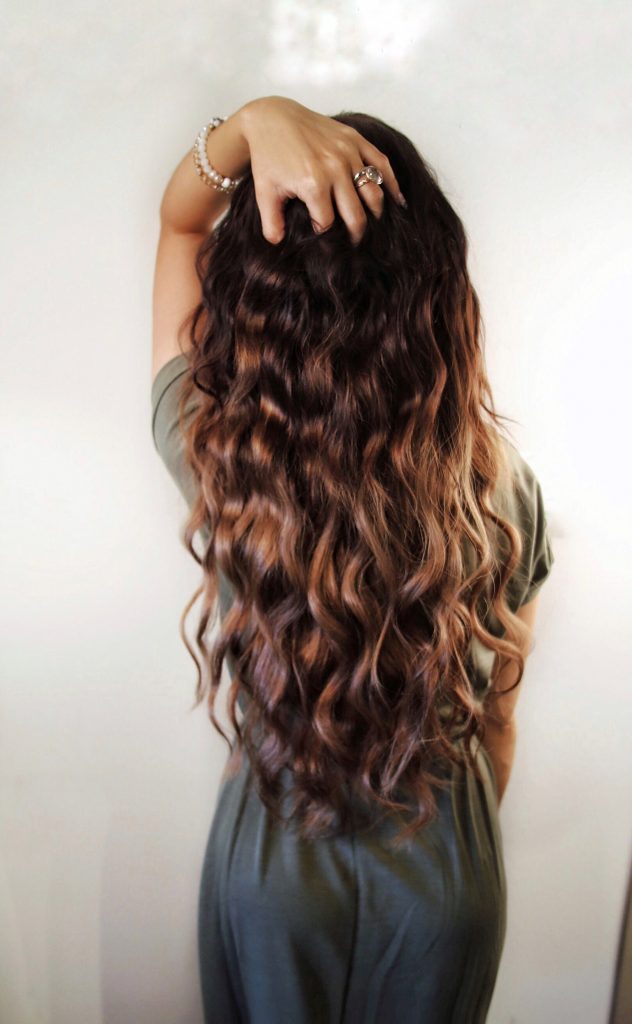
- Last but not least, my favorite
Boho Goddess BedHead Waves:
Tools: Waver ( I use Bed Head TIGI Wave Artist)
Extension brush (same as previous options)
High shine hair spray ( I use Bed Head HeadRush)
Light Setting spray ( I use Redken Forceful 23)
Texturizing spray ( I use Oribe dry texture spray)
For this look, you will see much better results if you are working with two day old hair.
Brush out any existing curls or style you have gently with your extension brush and detangler.
Don’t get scared, your hair is gonna look really frizzy at this point, but trust me, that’s what you need for the waver since it clamps your hair flat.
Take your same three sections.
This time you are taking a large handful of hair, about two inches.
Hold your waver as horizontal as possible with the handle facing toward you.
Start at the roots, holding your hair very lax (make sure it’s not pulled taught), and clamp about half an inch away from your roots.
Hold the waver on for 4-6 seconds.
Once you remove the waver, it will be really obvious where your wave ends. Move to the end of that first clamp and start the next wave. Continue this all the way down until you have 1 inch left. Leave that last section out and straight.
Continue this all the way up your head and even into your natural hair above your extensions.
Right now, you are going to look like a crazy person with crimps stuck down to your scalp, but don’t worry, we’re not done yet.
At this point, spray in your texturizing spray — liberally — especially around your scalp and in between your tapes.
Flip your hair upside down, and only shake and finger comb your roots.
Finally take your high shine hair gloss, and finger comb it only from shoulder length down.
Dash on some setting spray on — you won’t need much, this look HOLDS its own–.
Hope this helped you ladies out there with, thin hair, layers, and extensions find a new and fun way to rock your hair this summer!
P.S. My extensions are Glam Seamless. I have not been paid to promote any of the products discussed in this post, these are literally all just products I used and love.